
Still need help?

If you face any issues or have queries regarding app building in Clappia, here's how to request support:
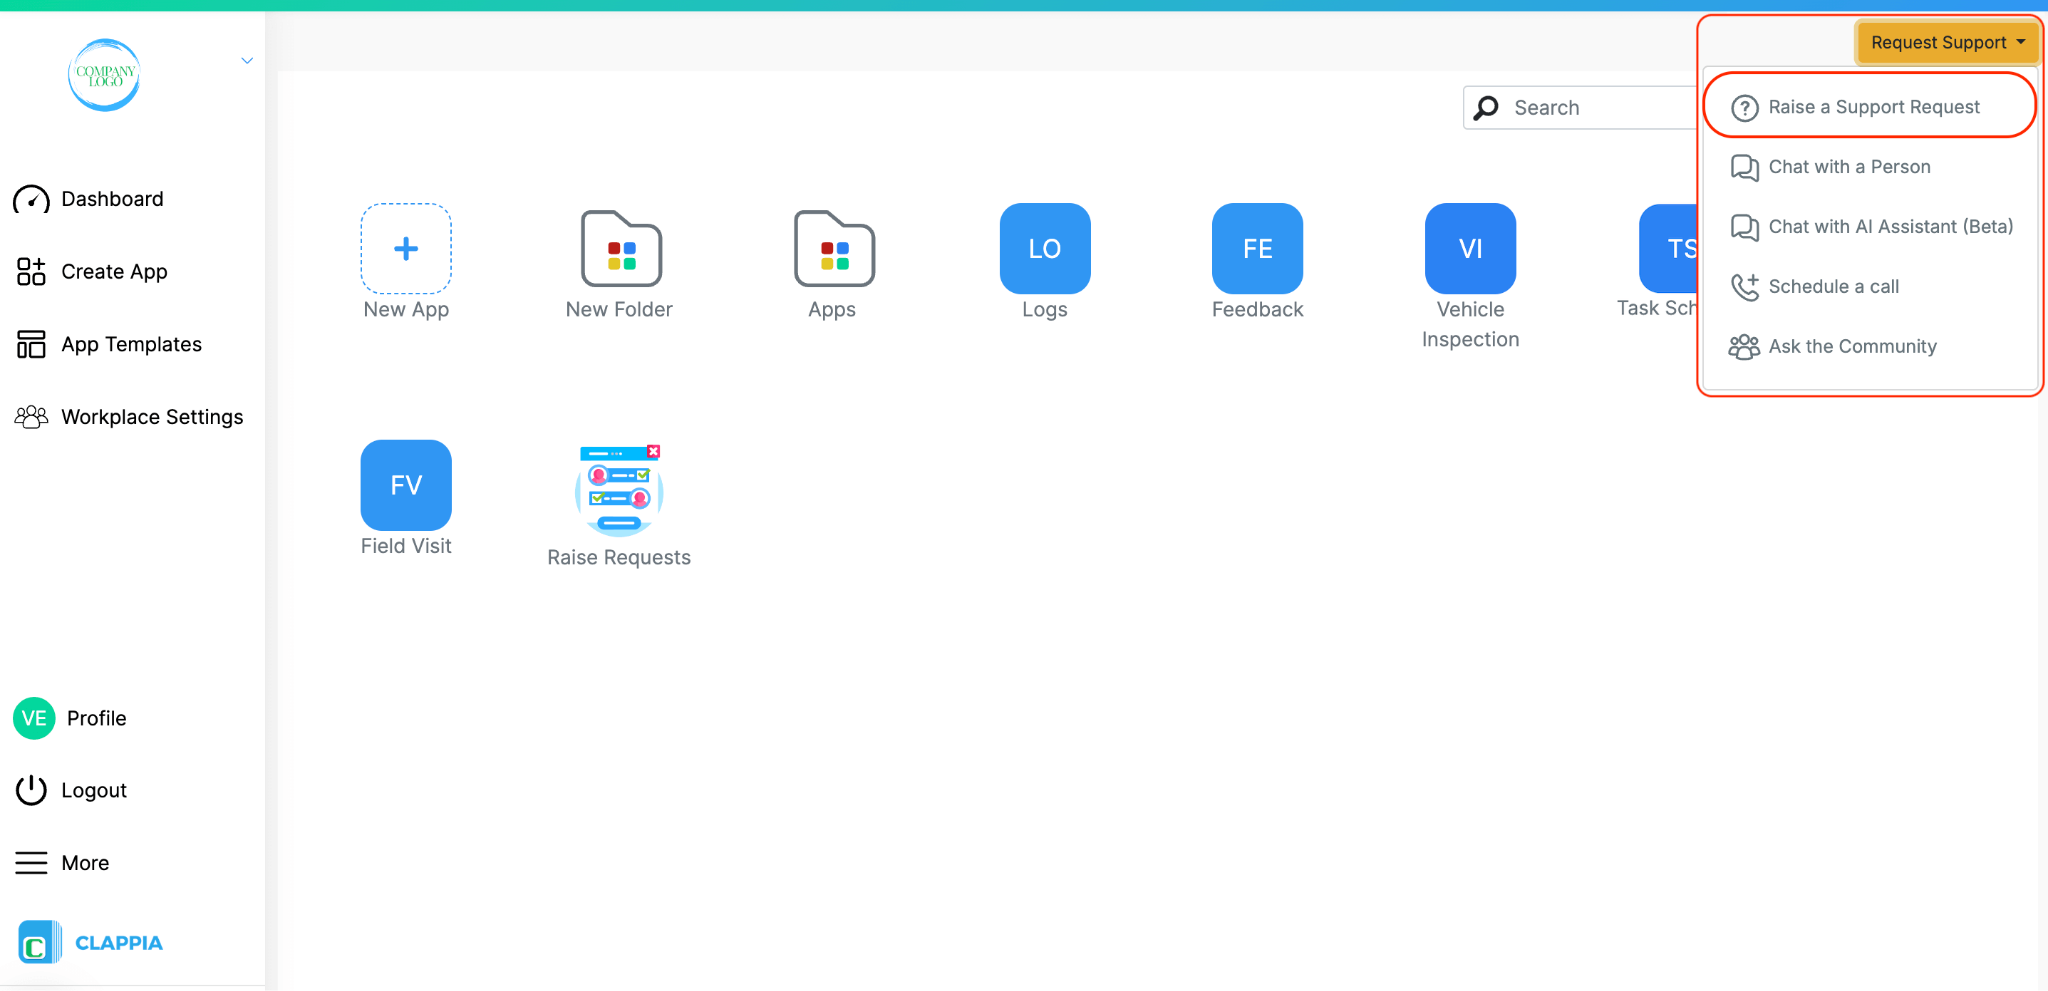
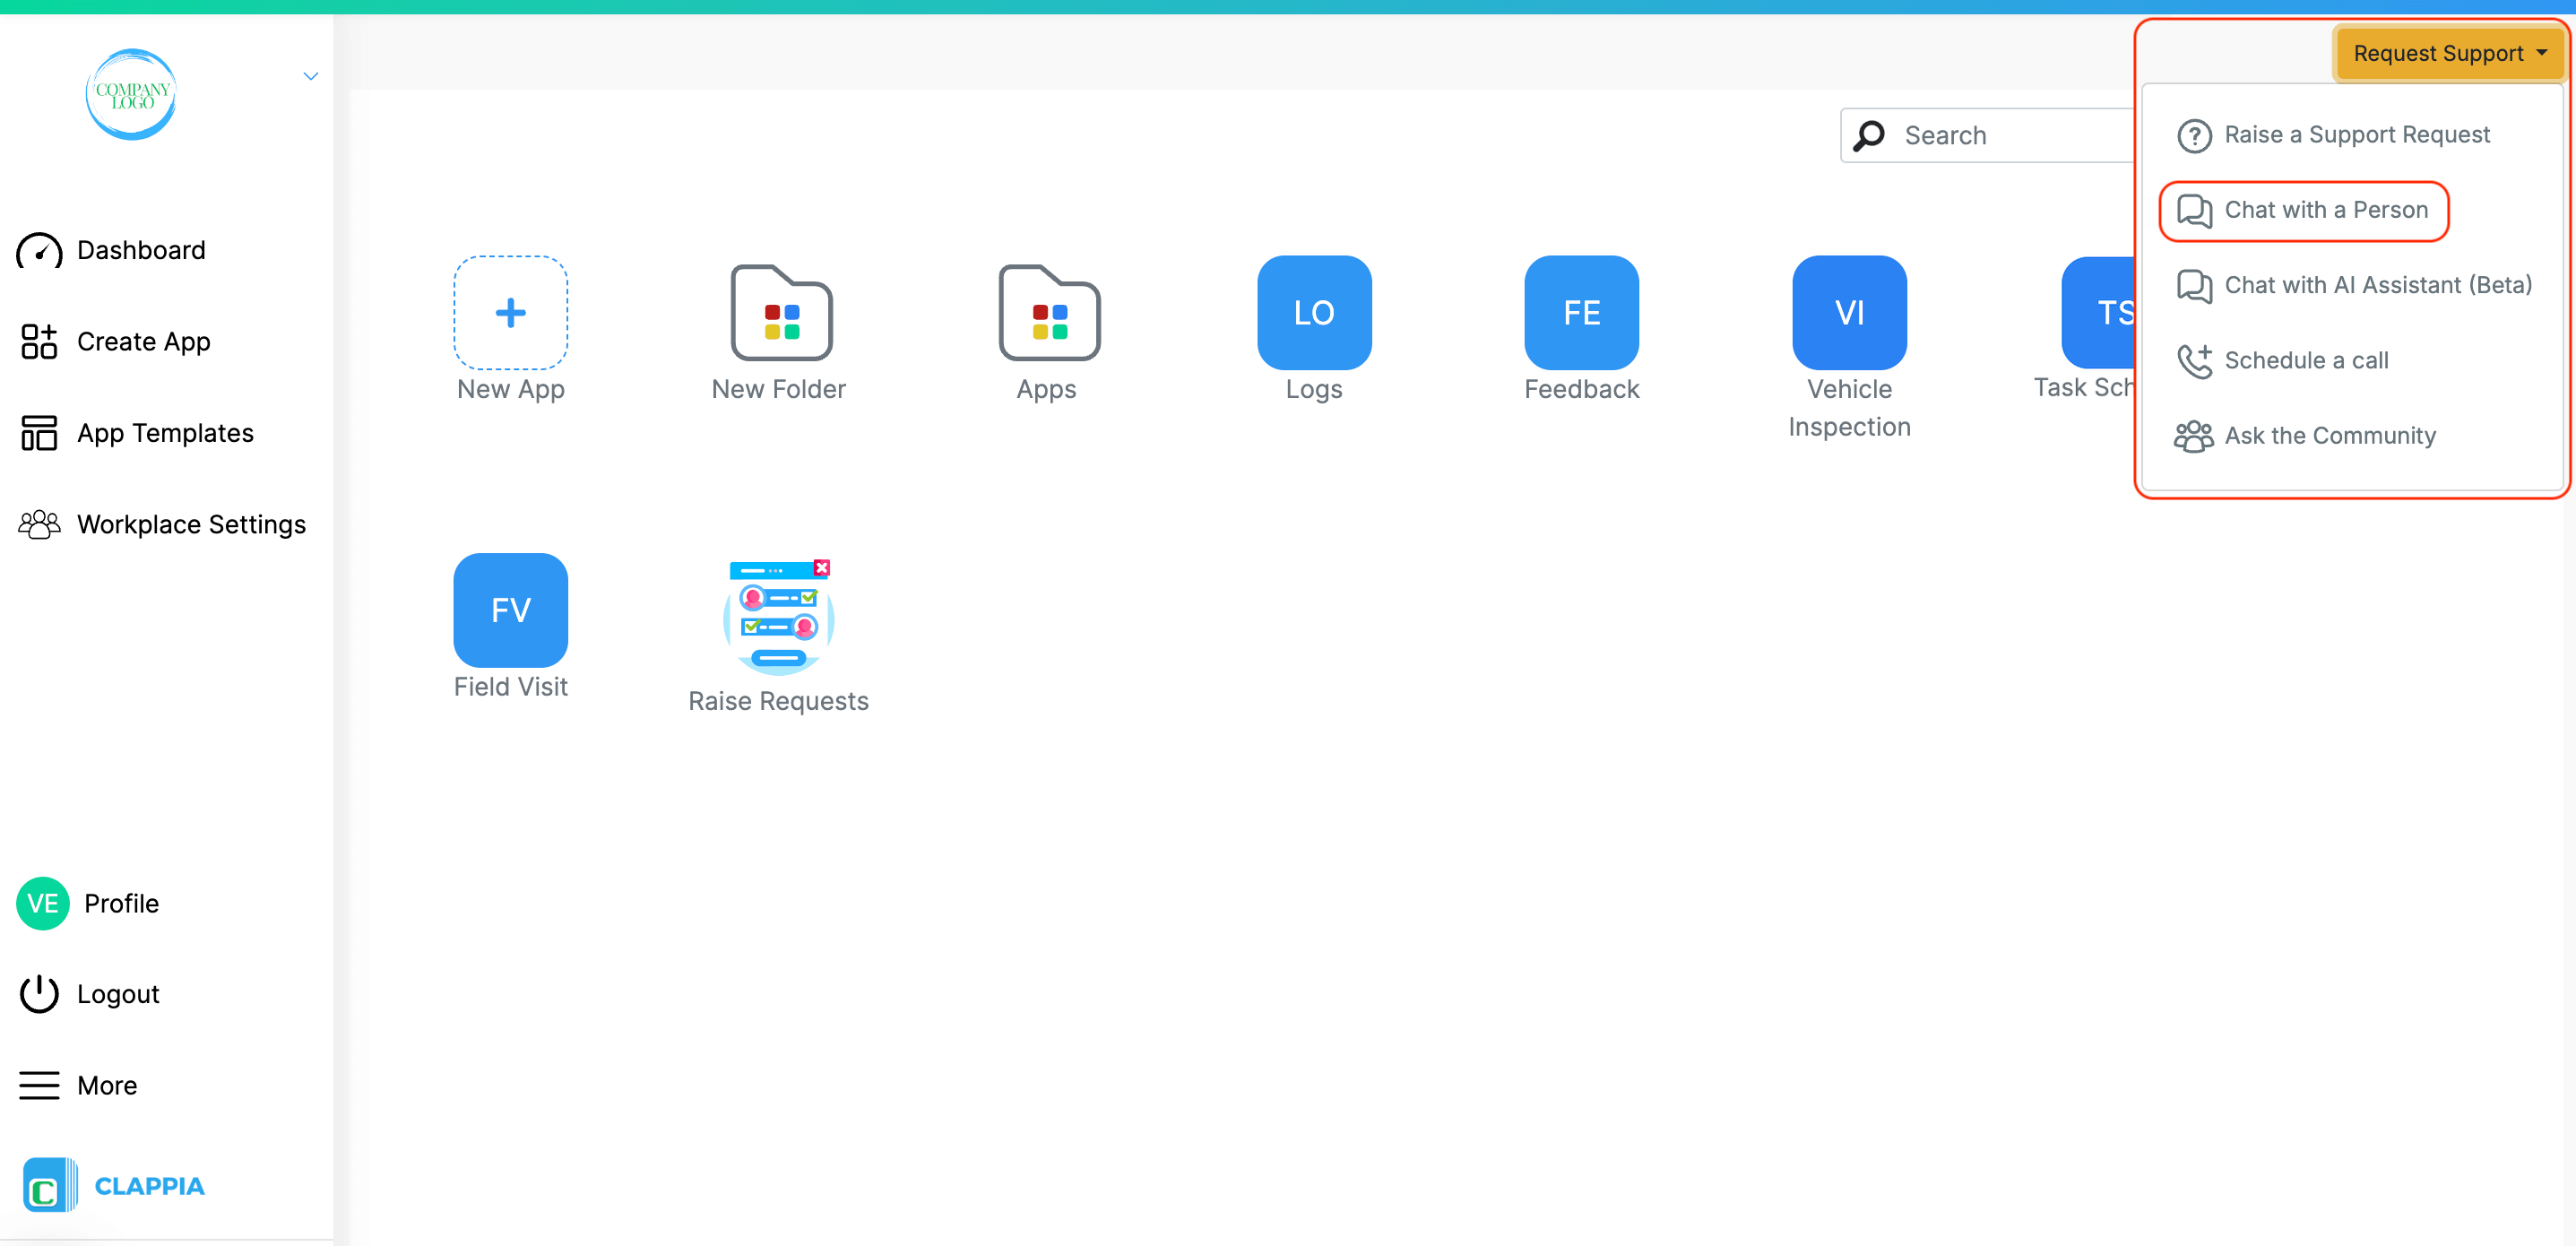
The Request Support button is available directly on the dashboard at the top right corner.

Click on it to view multiple support options:

Each option is explained in detail below.
This option enables Clappia's support team to gain temporary access to your Workplace and the specific apps you need help with. This allows the team to directly review your configurations and identify issues. You can provide a detailed description of the issue through a form, along with screenshots for additional context. Access granted to Clappia support is strictly temporary and will automatically be removed 7 days after the issue is resolved, or you can manually revoke it at any time.
When you click on Raise a Support Request, you will be taken to your Support Requests dashboard. This dashboard maintains a log of all the requests you have submitted earlier, including their status. From here, you can also choose to reopen old requests if needed.
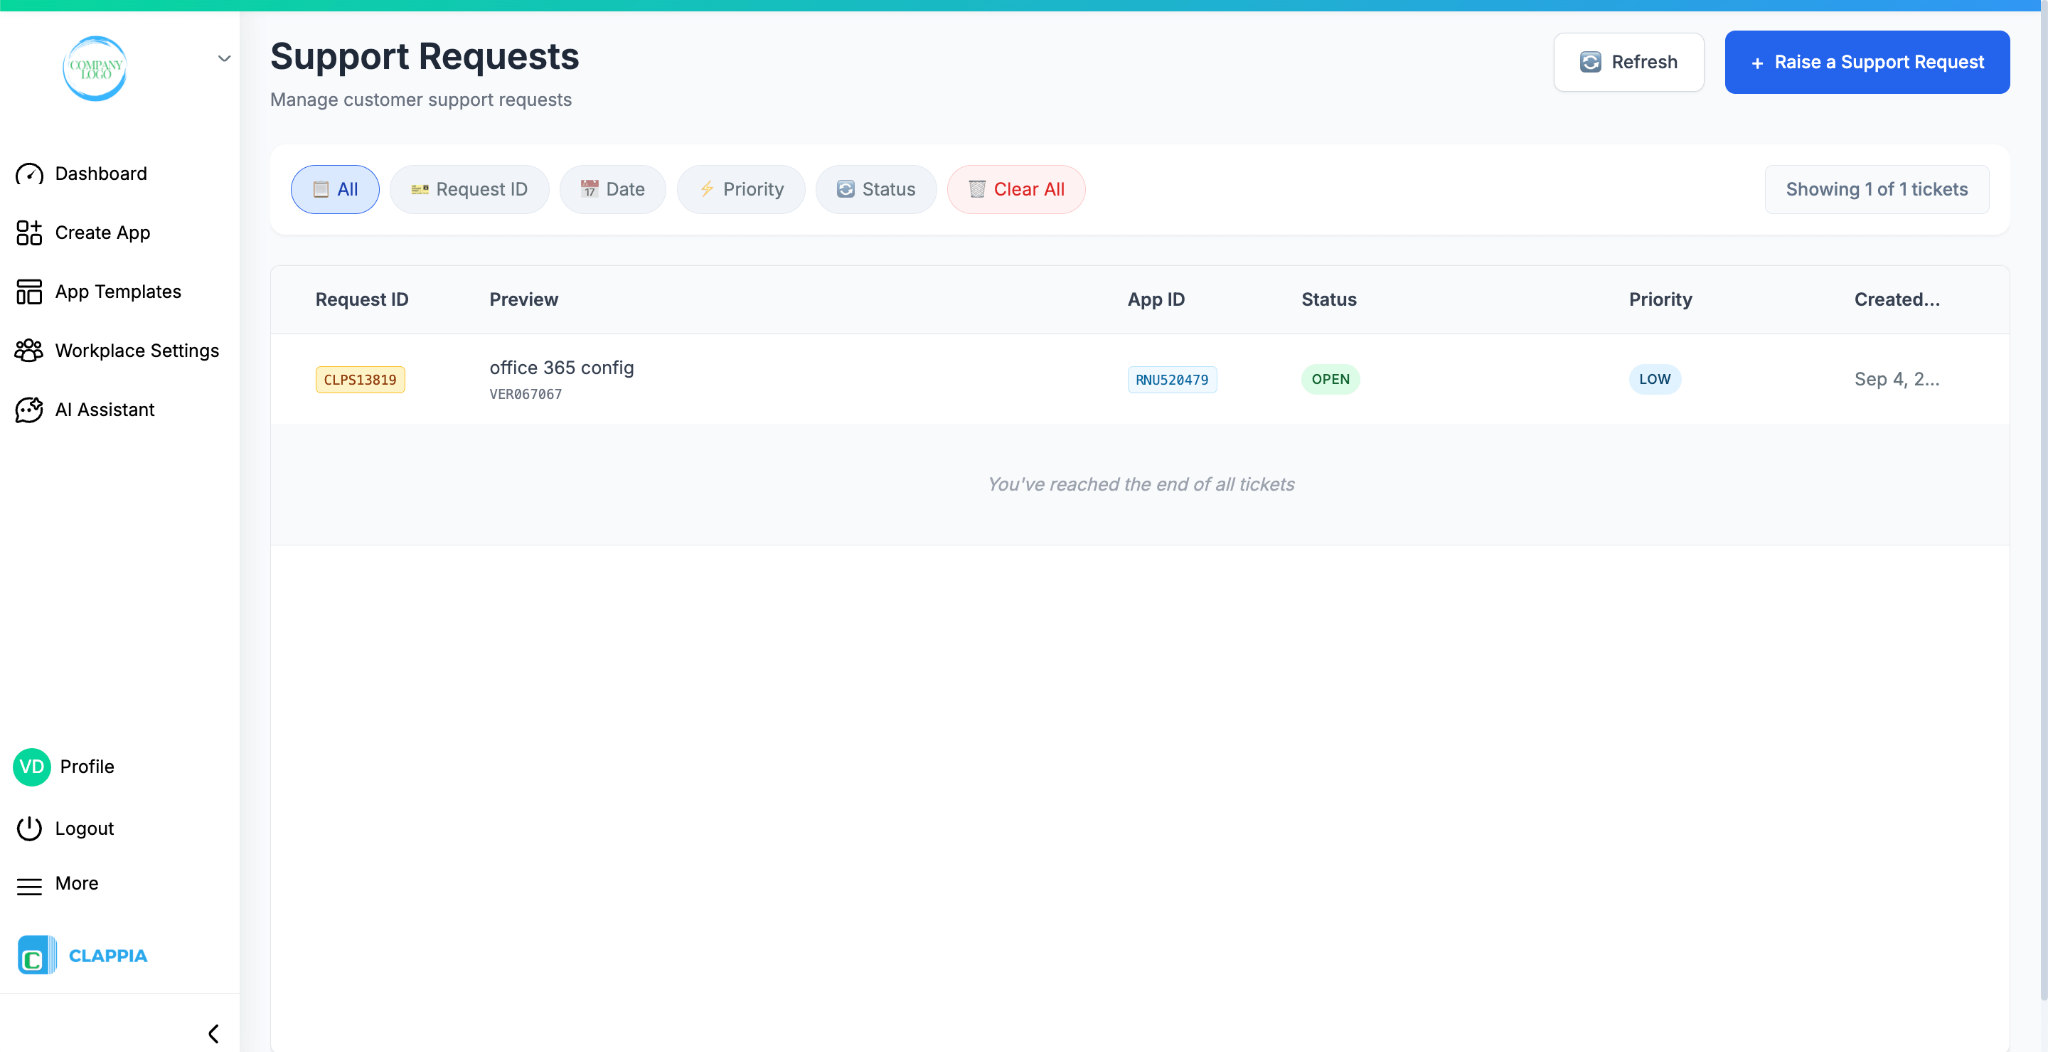
To raise a new request, click the Raise a Support Request button at the top right corner of the screen.
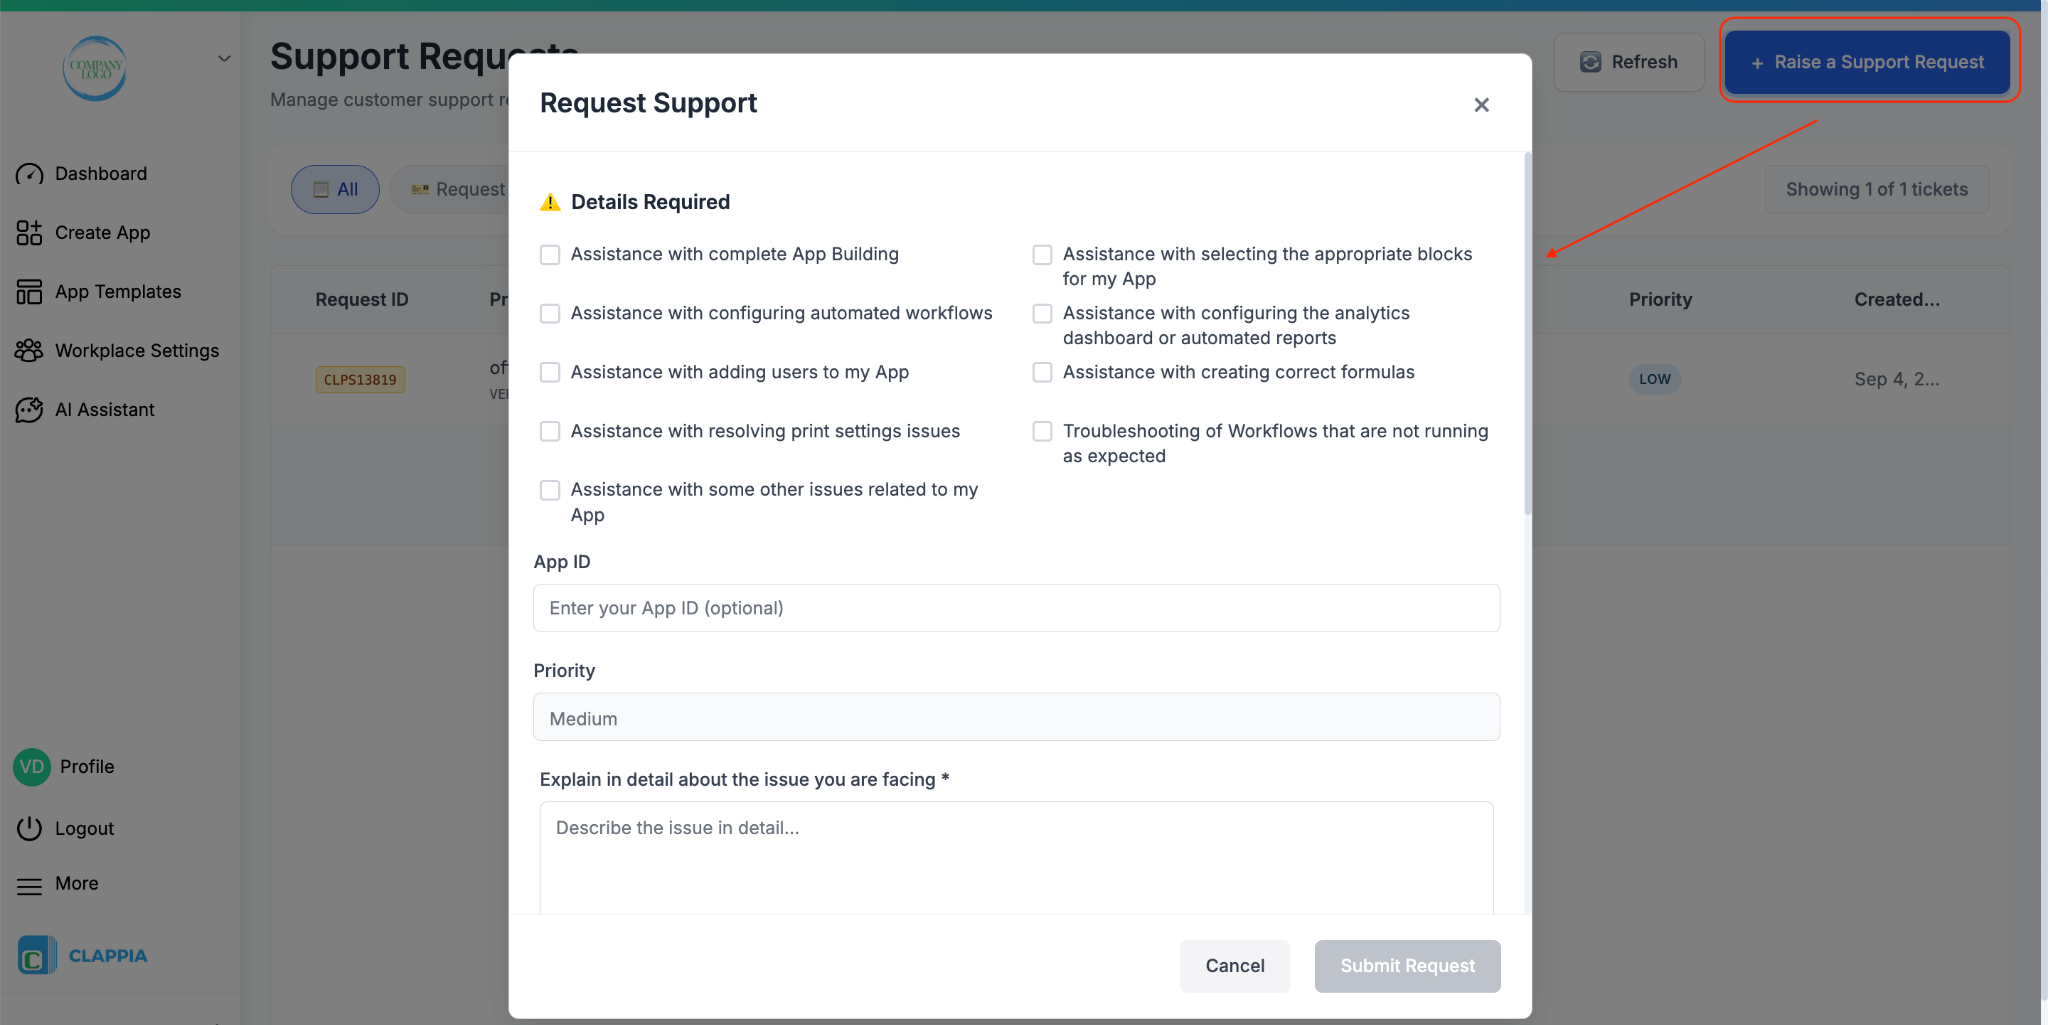

A pop-up window will appear, select the issue, describe it in detail, attach any relevant screenshots or recordings for clarity, select the acknowledgement, and click on submit request. Providing clear information here ensures that the Support and Solutions team understands your problem and can assist you more effectively.
Once you submit the form, the support team automatically gets access to your workplace temporarily.
The form also has an App ID field. Although this is marked as optional, it is strongly recommended that you enter the App ID if your issue relates to a specific app. Without it, the team can only access your workplace but not the app itself. In such cases, they will reach out to you separately to request access, but it is best practice to include the App ID upfront unless the issue is related to the workplace in general.
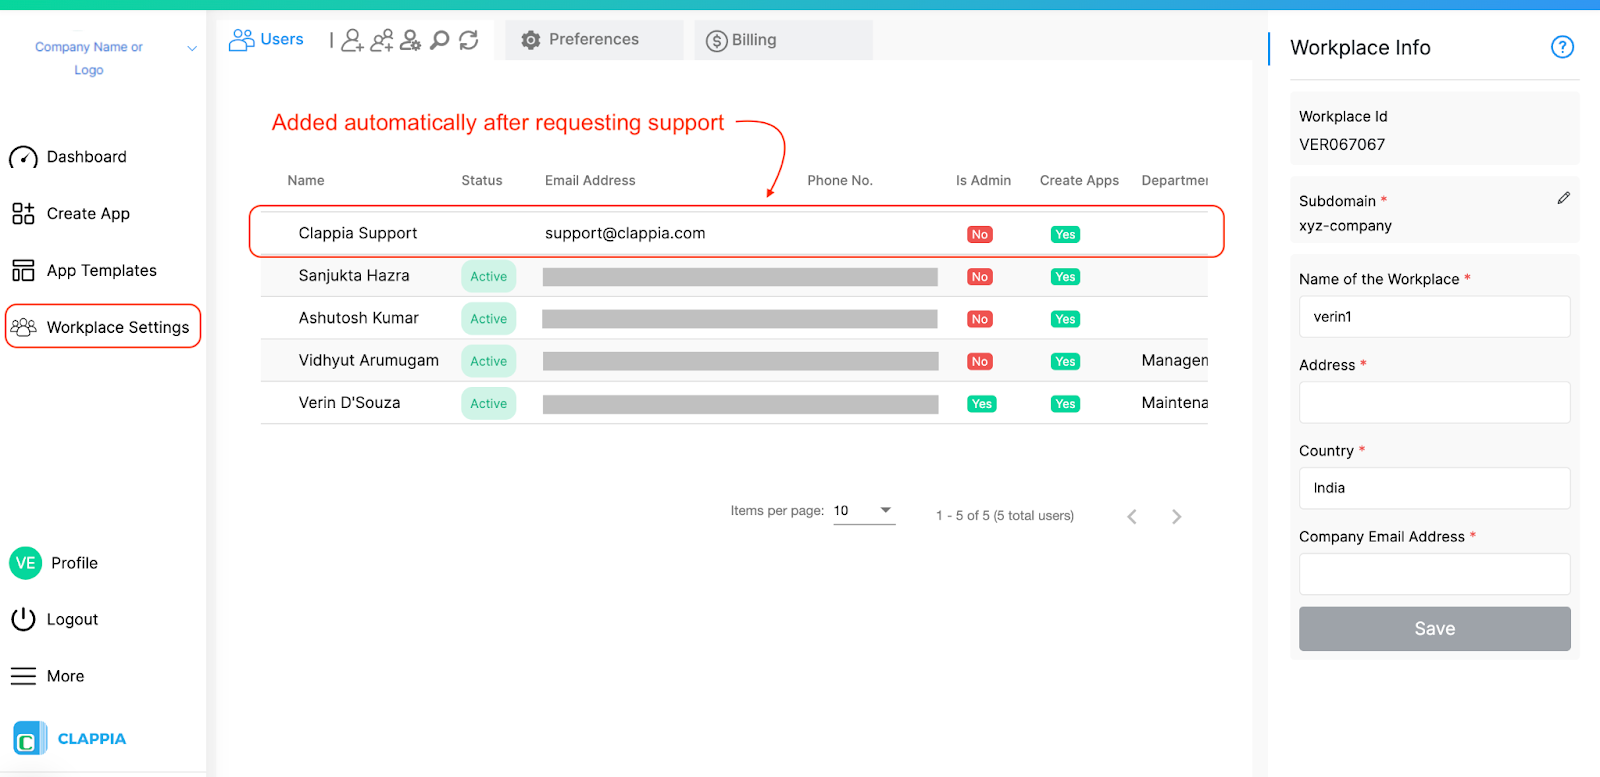
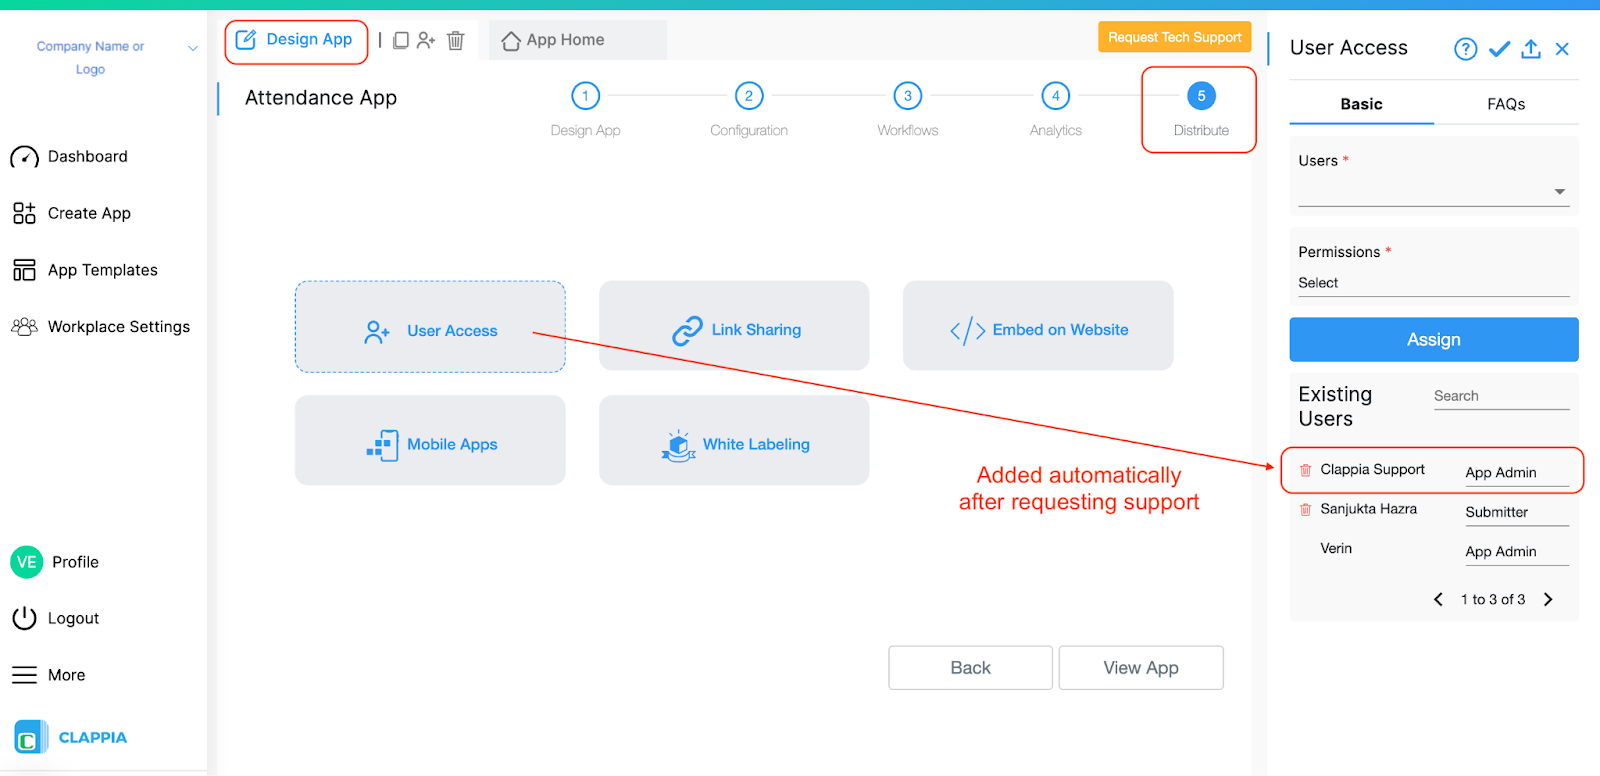
Temporary Access: Once you submit, Clappia’s support team will gain temporary access to your app to assist you. The app will be automatically assigned to the support team. “Clappia Support” will be added to your workplace and the corresponding app. You can check it in either Workplace Settings on the left panel or in the app go to Design App > Distribute.
An email notification will be automatically sent to Clappia’s support team as well.
Note: If app id is not given, workplace access is given to Clappia support team and you will see it in Workplace Settings. If app id is given, you will see it in the Distribute tab of the app.
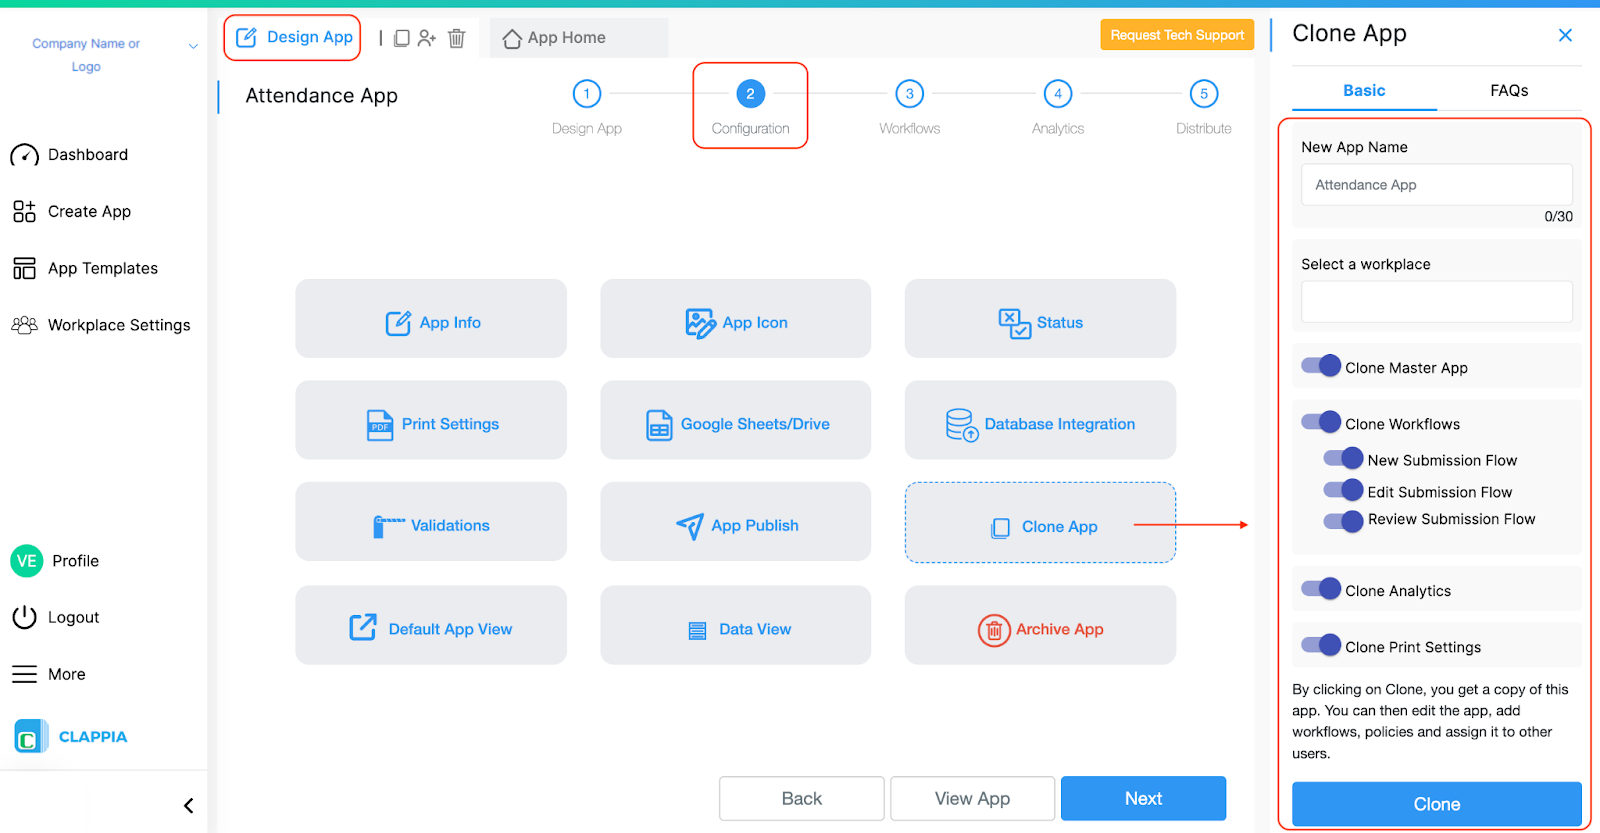
Handling Sensitive Data: If your app contains sensitive data, you can create a clone of your app and raise a request for the cloned version instead. This ensures that your data remains private while the support team reviews your app’s design and configurations. In case you have any interlinked apps using the ‘Get Data from other apps’ block, ensure you request support for that app as well. If a clone is done for the main app, ensure that you enable cloning for master apps (during cloning of the main app) as well if that has sensitive data, else you can simply raise a request from the other app without cloning it.
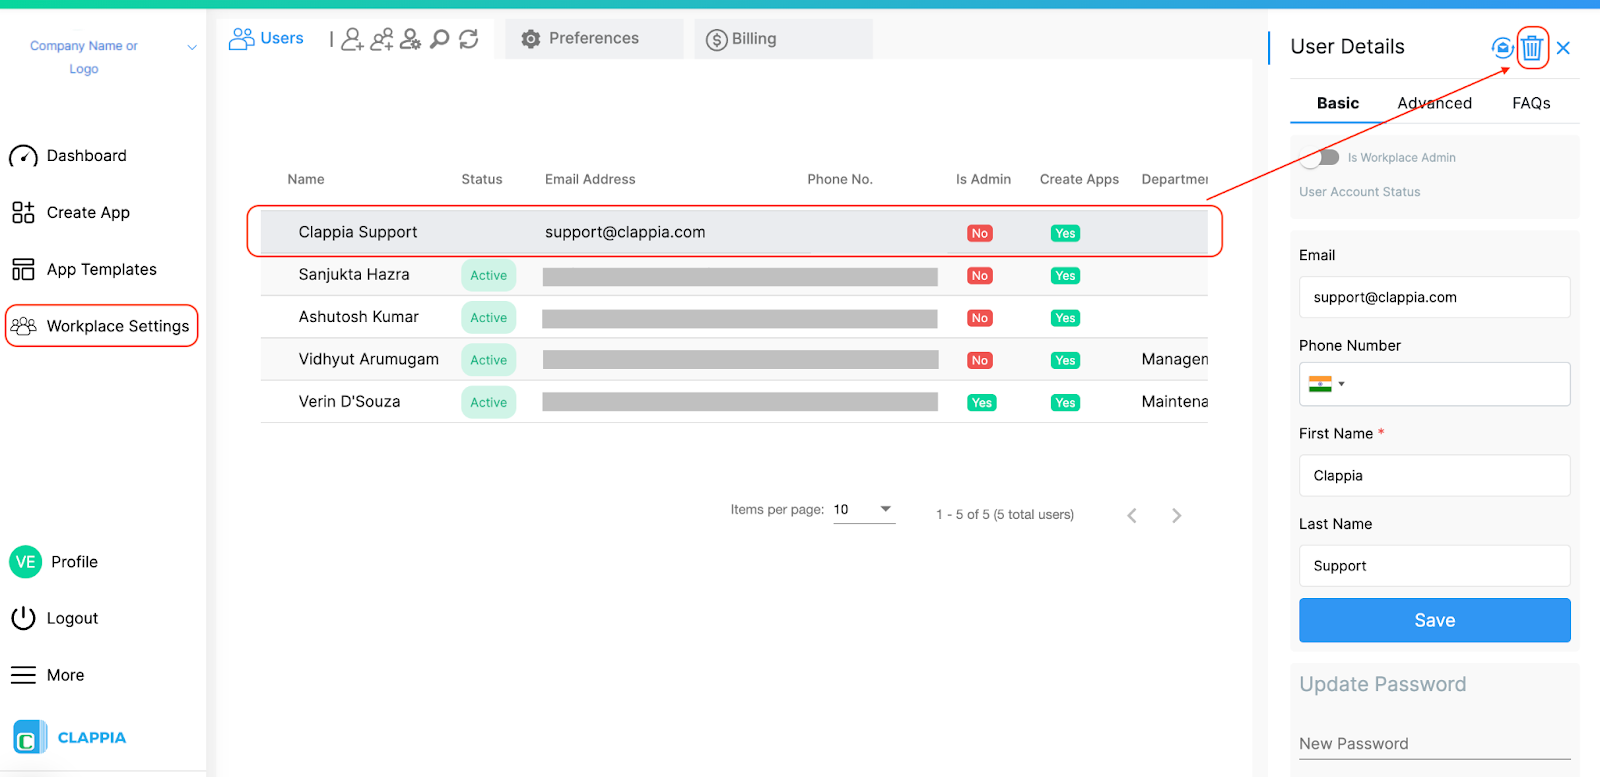
Post-Resolution: After resolving the issue, you’ll receive an email confirmation. Remember to remove the support team’s access by going to Workplace Settings and following the steps to remove the user. If you don’t remove access, the access will automatically be removed for you after 7 days.

When you raise a support request, Clappia’s system automatically generates a ticket ID and sends you an email containing:
You can reply directly to any support email you receive. Your responses will be added to the same ticket, ensuring smooth communication and quicker resolution.
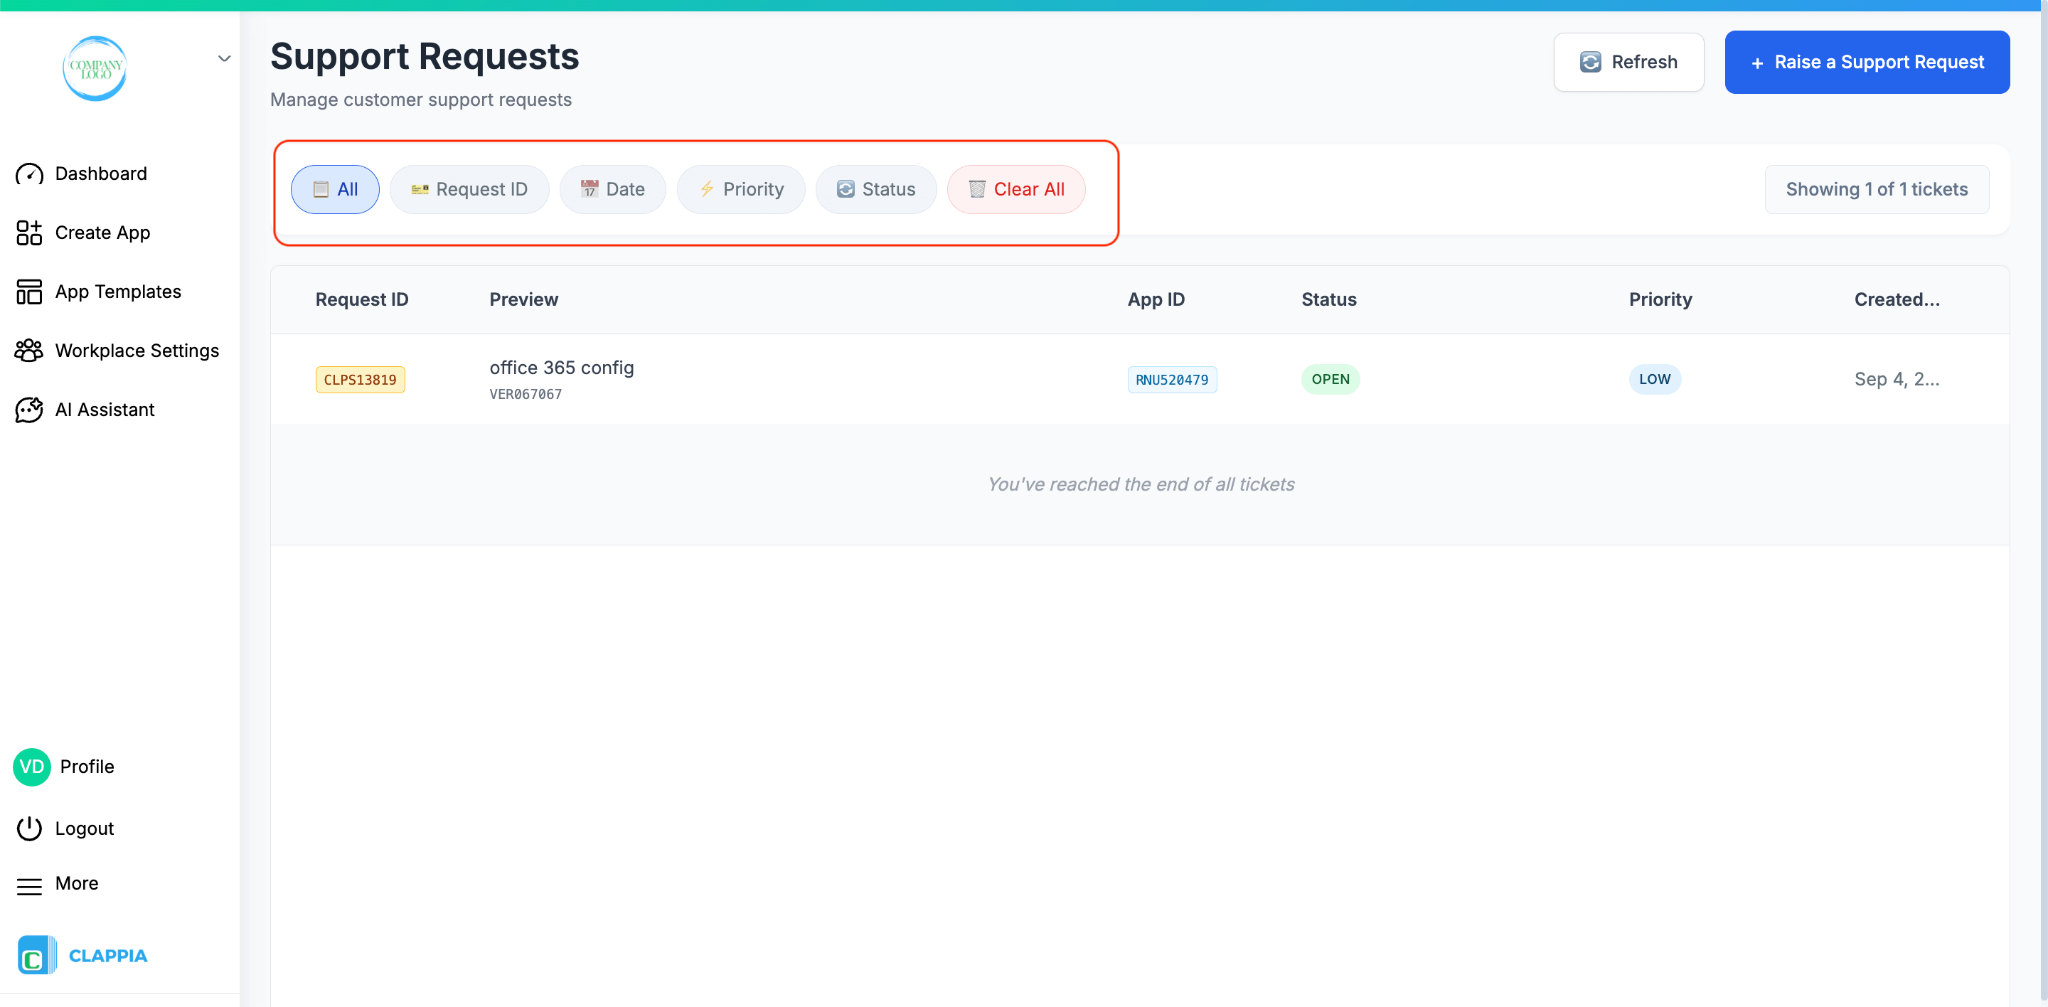
At the top of the dashboard, you can filter and sort your requests using the following options:
Use Clear All to remove all filters and return to the full list of tickets.
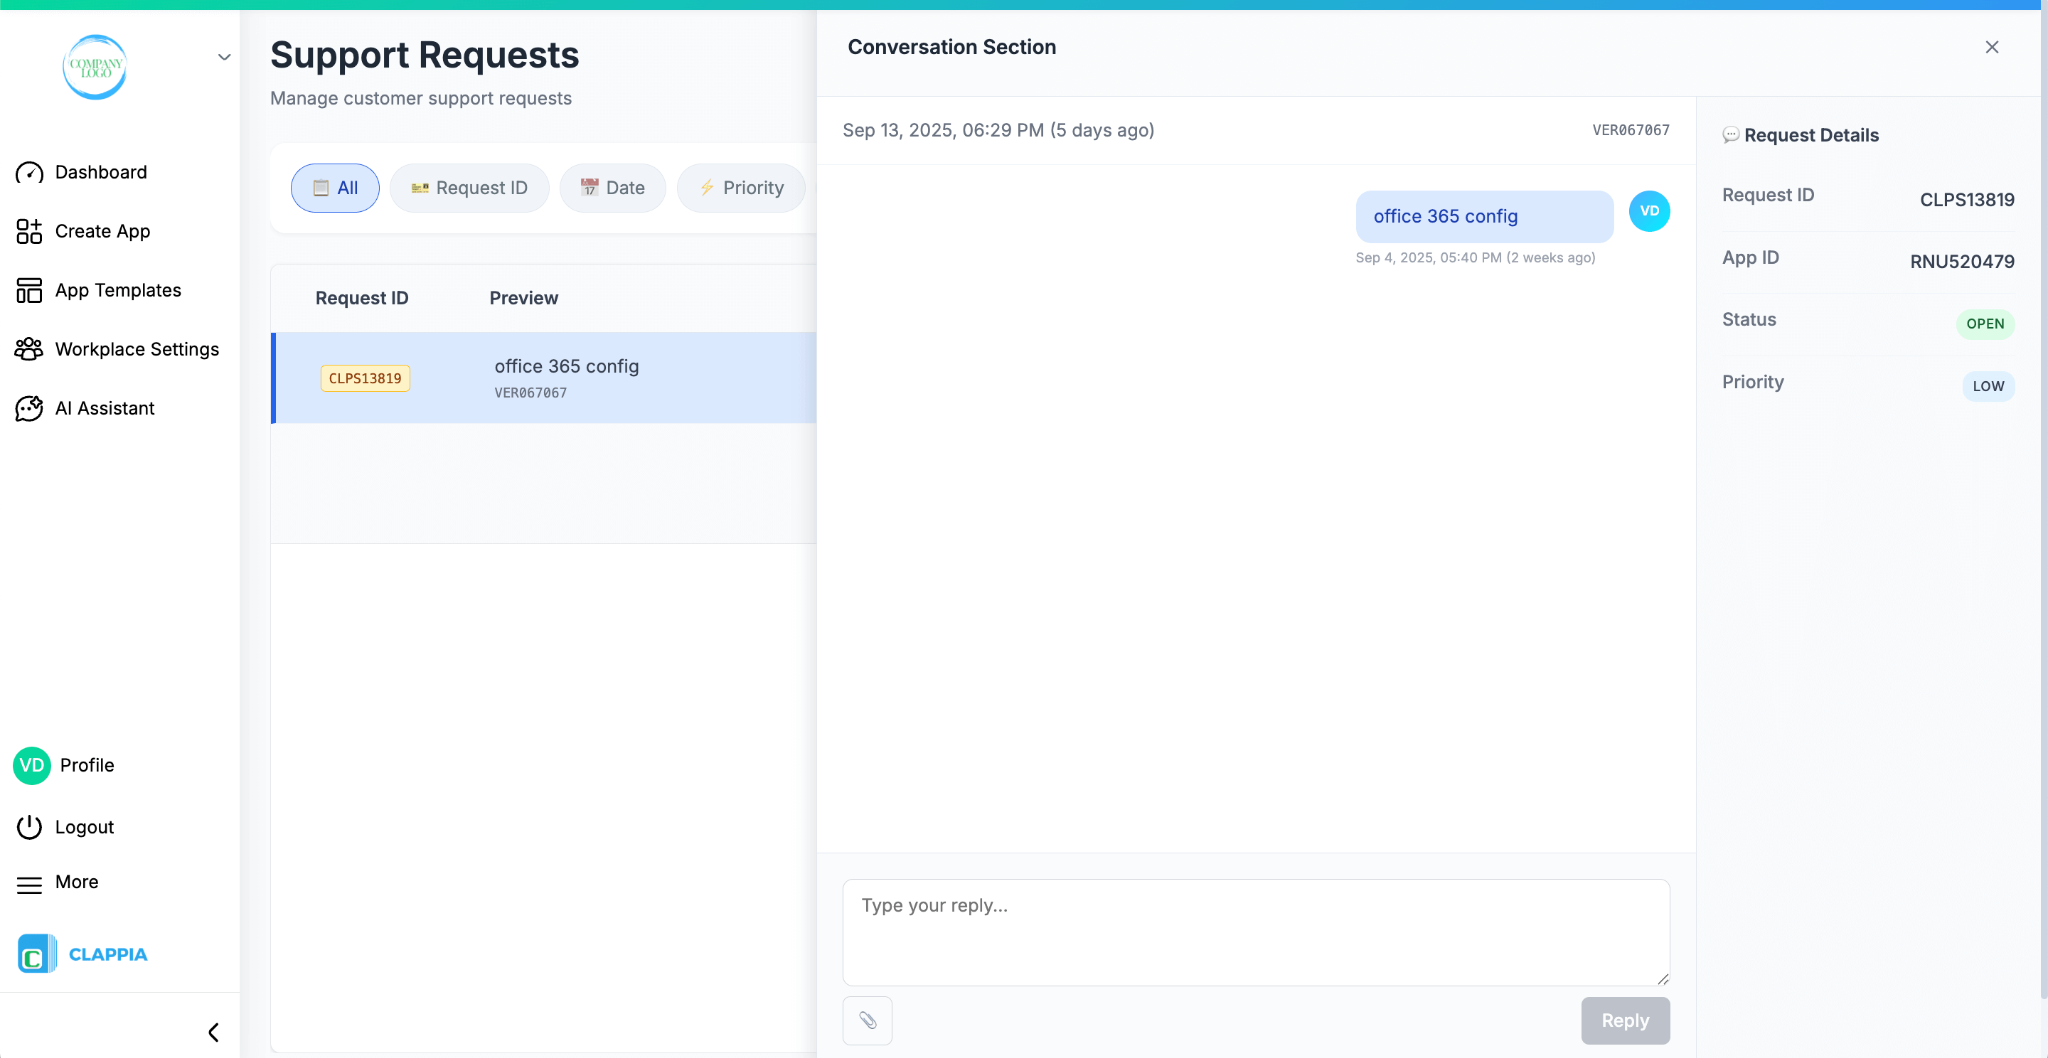
When you open a ticket, a Conversation section appears on the right. This is where you can exchange messages with the support team.
If an issue reappears after a ticket has been closed, you can reopen the same request.
Use this option for quick queries or real-time assistance. You can now chat with an AI assistant trained on Clappia’s help guides, videos, and feature documentation, or connect directly with Clappia’s Solutions Team for personalised support.
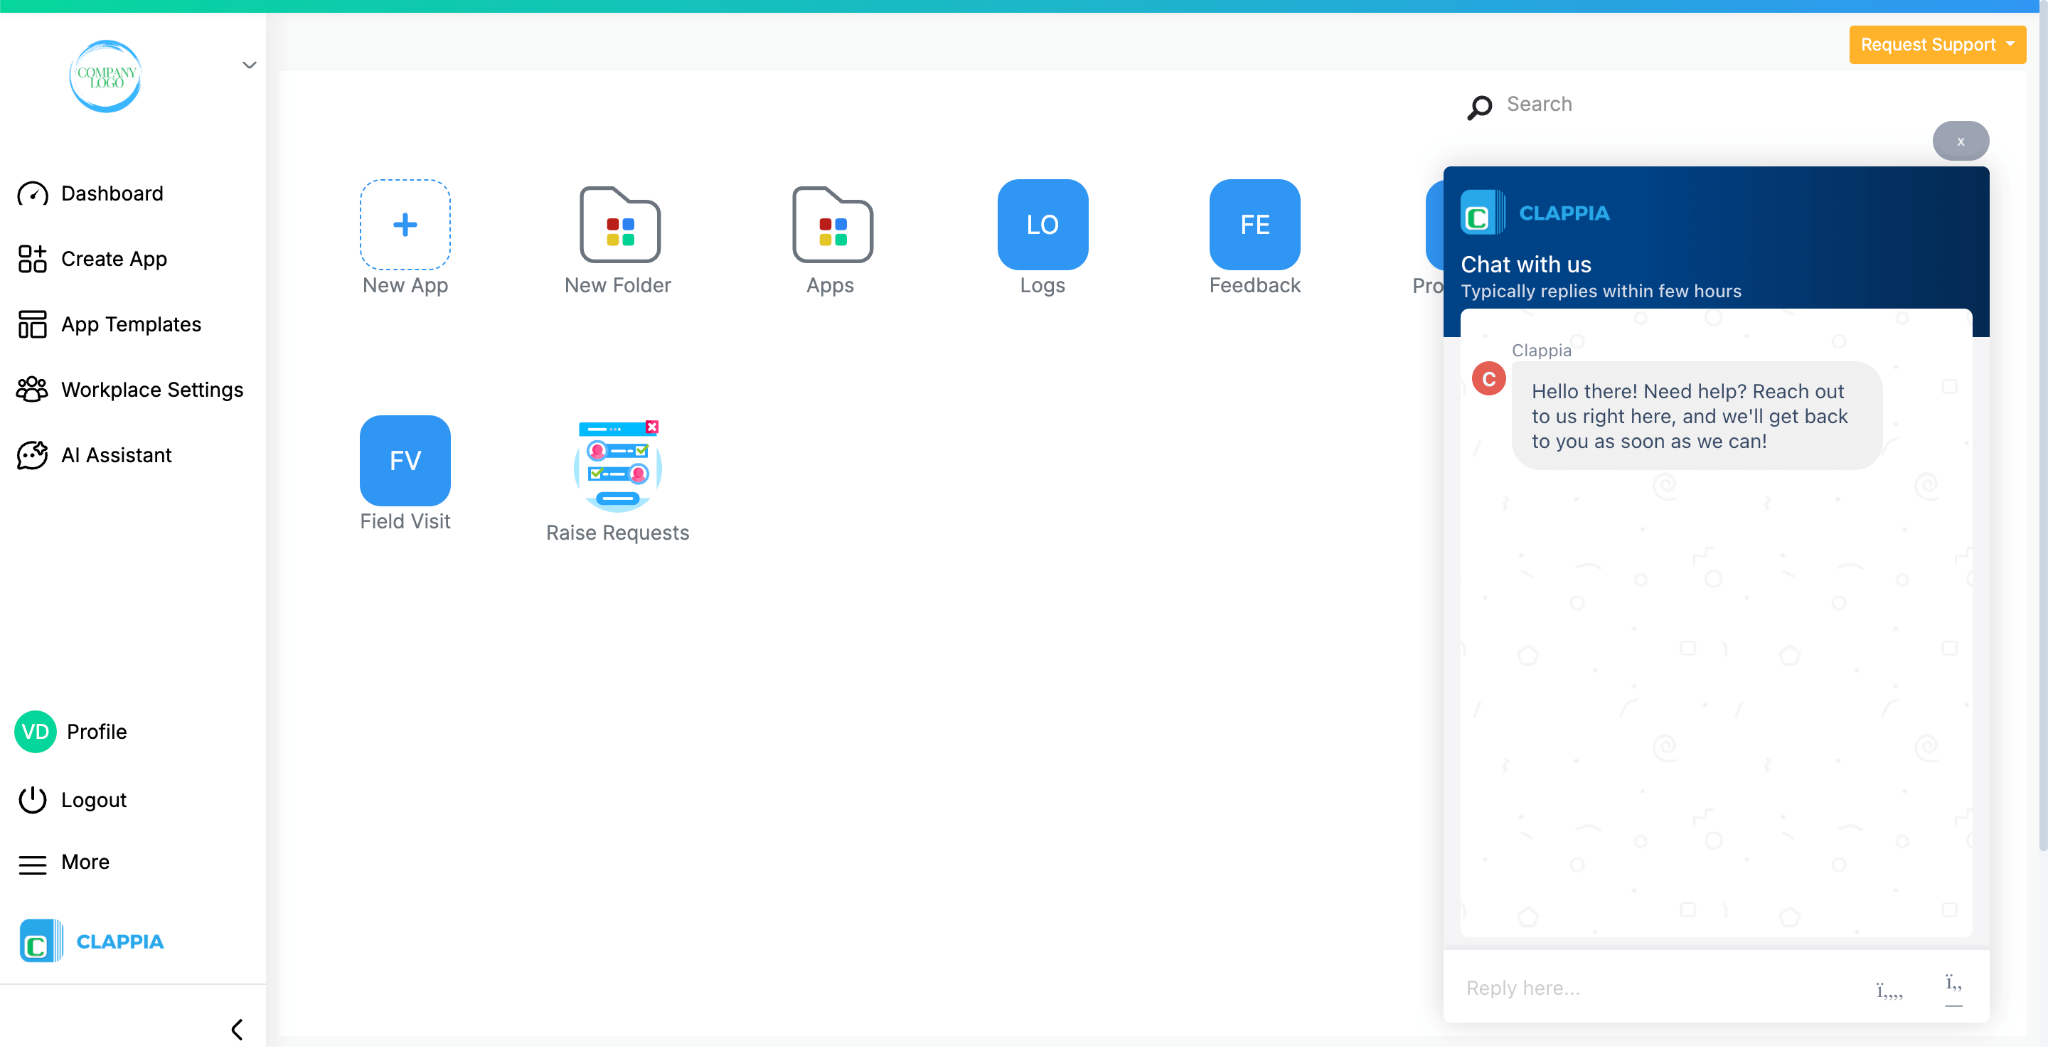
From the Request Support dropdown at the top of the workplace, choose Chat with a Person to reach Clappia’s Solution and Support Team.
A chat window opens that connects to the team where you can send a new message or view previous conversations under the Messages tab.
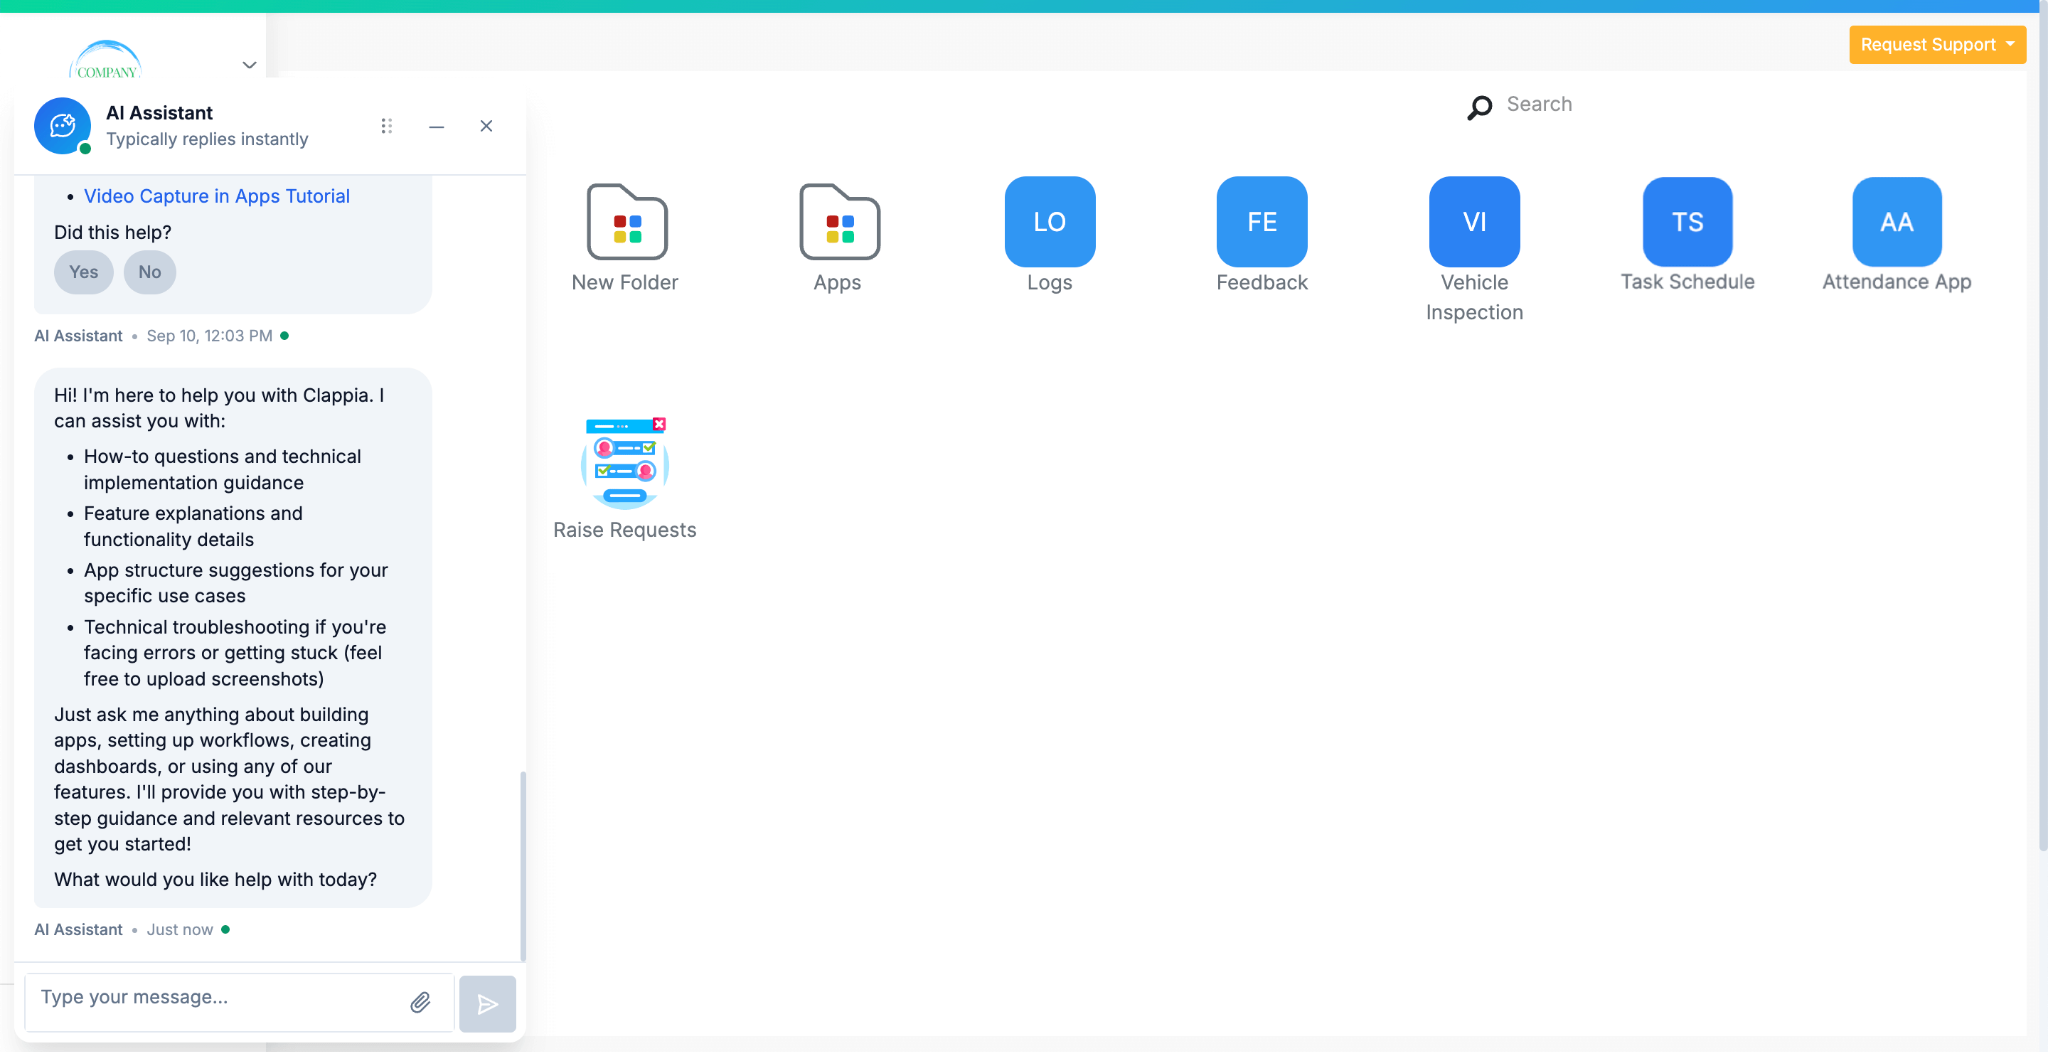
From the Request Support dropdown at the top of the workplace, choose Chat with AI Assistant for instant automated help or click on AI assistant from the left panel.

Opens a separate AI chat window. The assistant can help with app setup, field logic, workflows, and other platform-related queries.
This option lets you book a one-on-one meeting with Clappia’s Support team. You can select a convenient date and time, specify your requirements, and even invite additional participants to the call.

This option redirects you to Clappia’s community page, where you can post questions and interact with other users and Clappia members. It’s a collaborative space to find solutions and share insights.


L374, 1st Floor, 5th Main Rd, Sector 6, HSR Layout, Bengaluru, Karnataka 560102, India

3500 S DuPont Hwy, Dover,
Kent 19901, Delaware, USA


3500 S DuPont Hwy, Dover,
Kent 19901, Delaware, USA
L374, 1st Floor, 5th Main Rd, Sector 6, HSR Layout, Bengaluru, Karnataka 560102, India
.svg)
